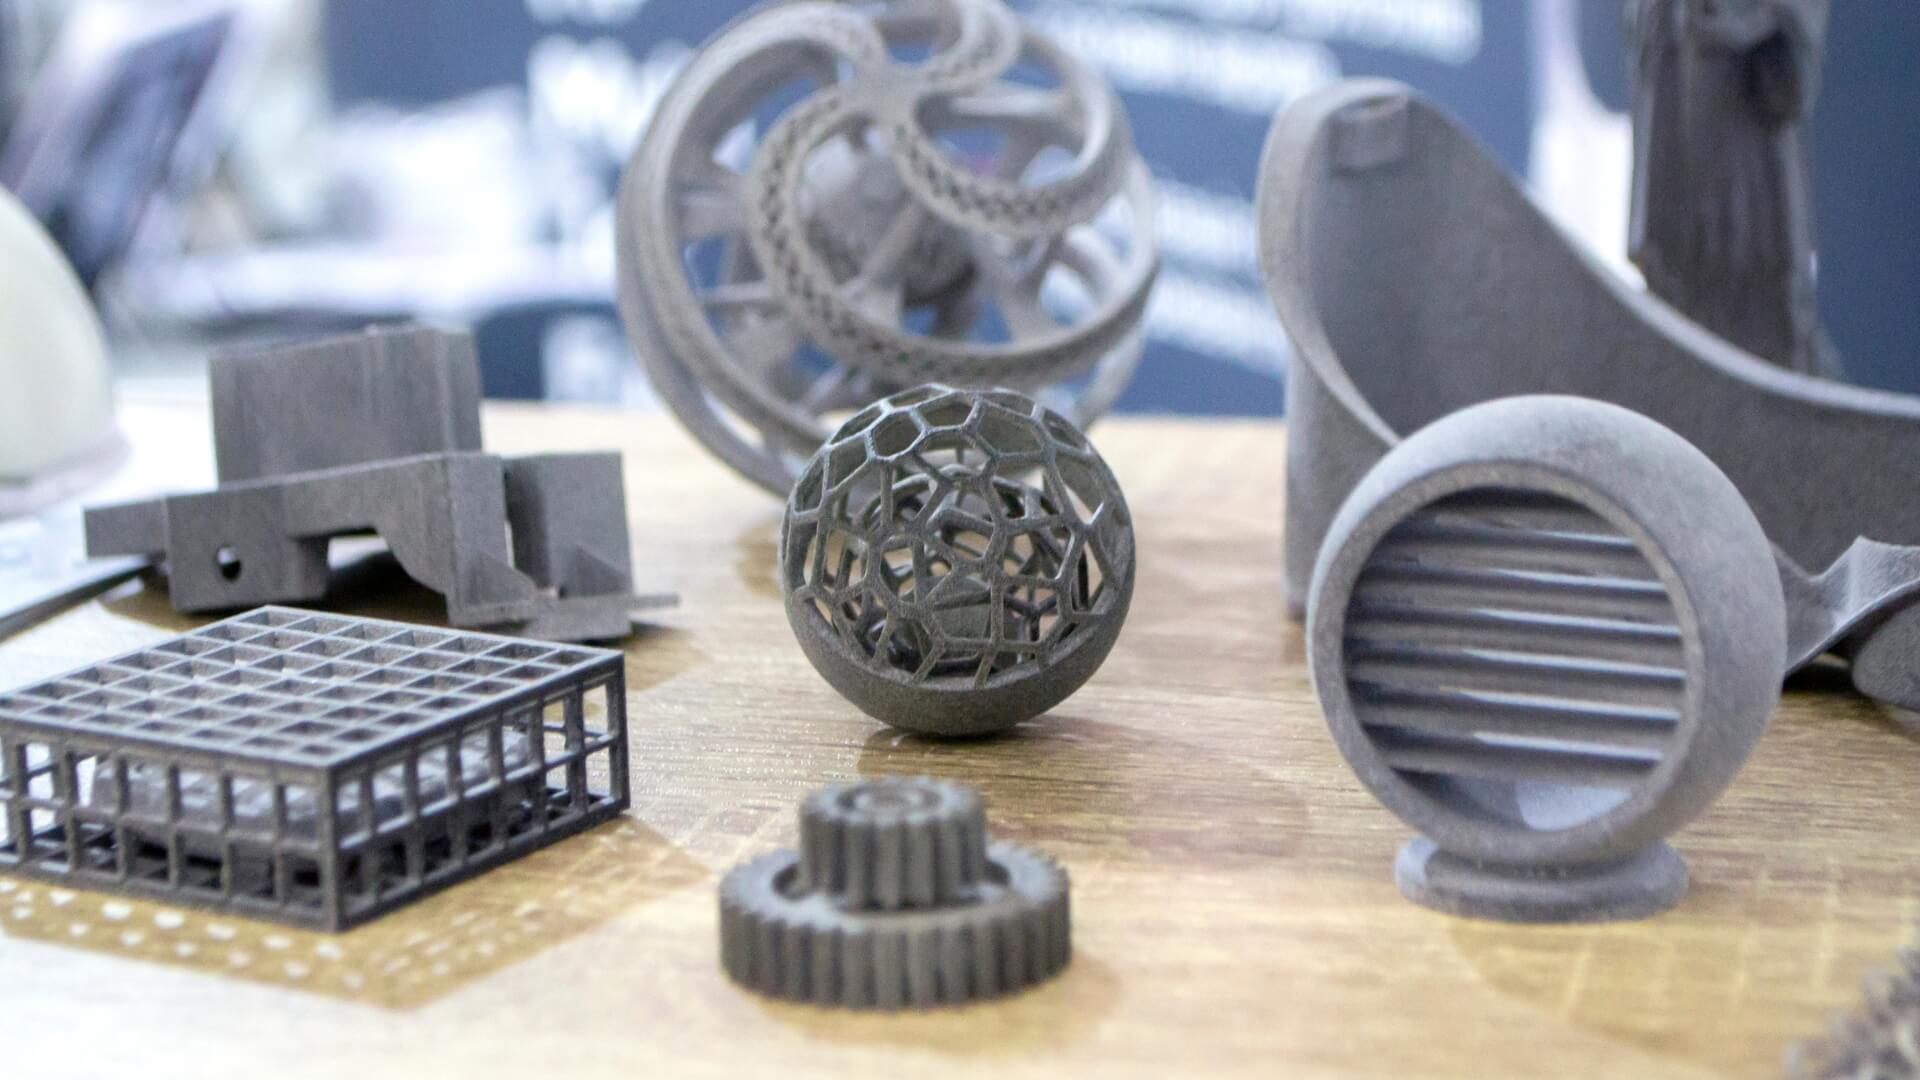
In the world of FDM 3D printing, achieving optimal print quality and troubleshooting common issues can be both an art and a science. Whether you are a novice or an experienced user, honing your skills in these areas will ensure that your FDM 3D prints reach their full potential. In this comprehensive guide, we will delve into the intricacies of 3D printing optimization and troubleshooting, equipping you with the knowledge and techniques needed to become a true 3D printing pro.
Section 1: Optimizing 3D Prints
Level the Build Plate Properly
One of the fundamental steps to optimize FDM 3D prints is ensuring the build plate is leveled correctly. A level build plate is essential for achieving proper adhesion and preventing print warping. Most FDM 3D printers offer an automated bed leveling feature, but manual calibration may be necessary for certain models. Use a calibration tool or follow the printer's manual to calibrate the bed accurately, and periodically check the leveling to maintain consistent results.
Use Quality Filaments
The choice of filament significantly impacts print quality. Investing in high-quality filaments from reputable manufacturers is essential to achieve consistent and reliable results. Inferior filaments may contain impurities or variations in diameter, leading to poor print quality, clogging issues, and inconsistent extrusion.
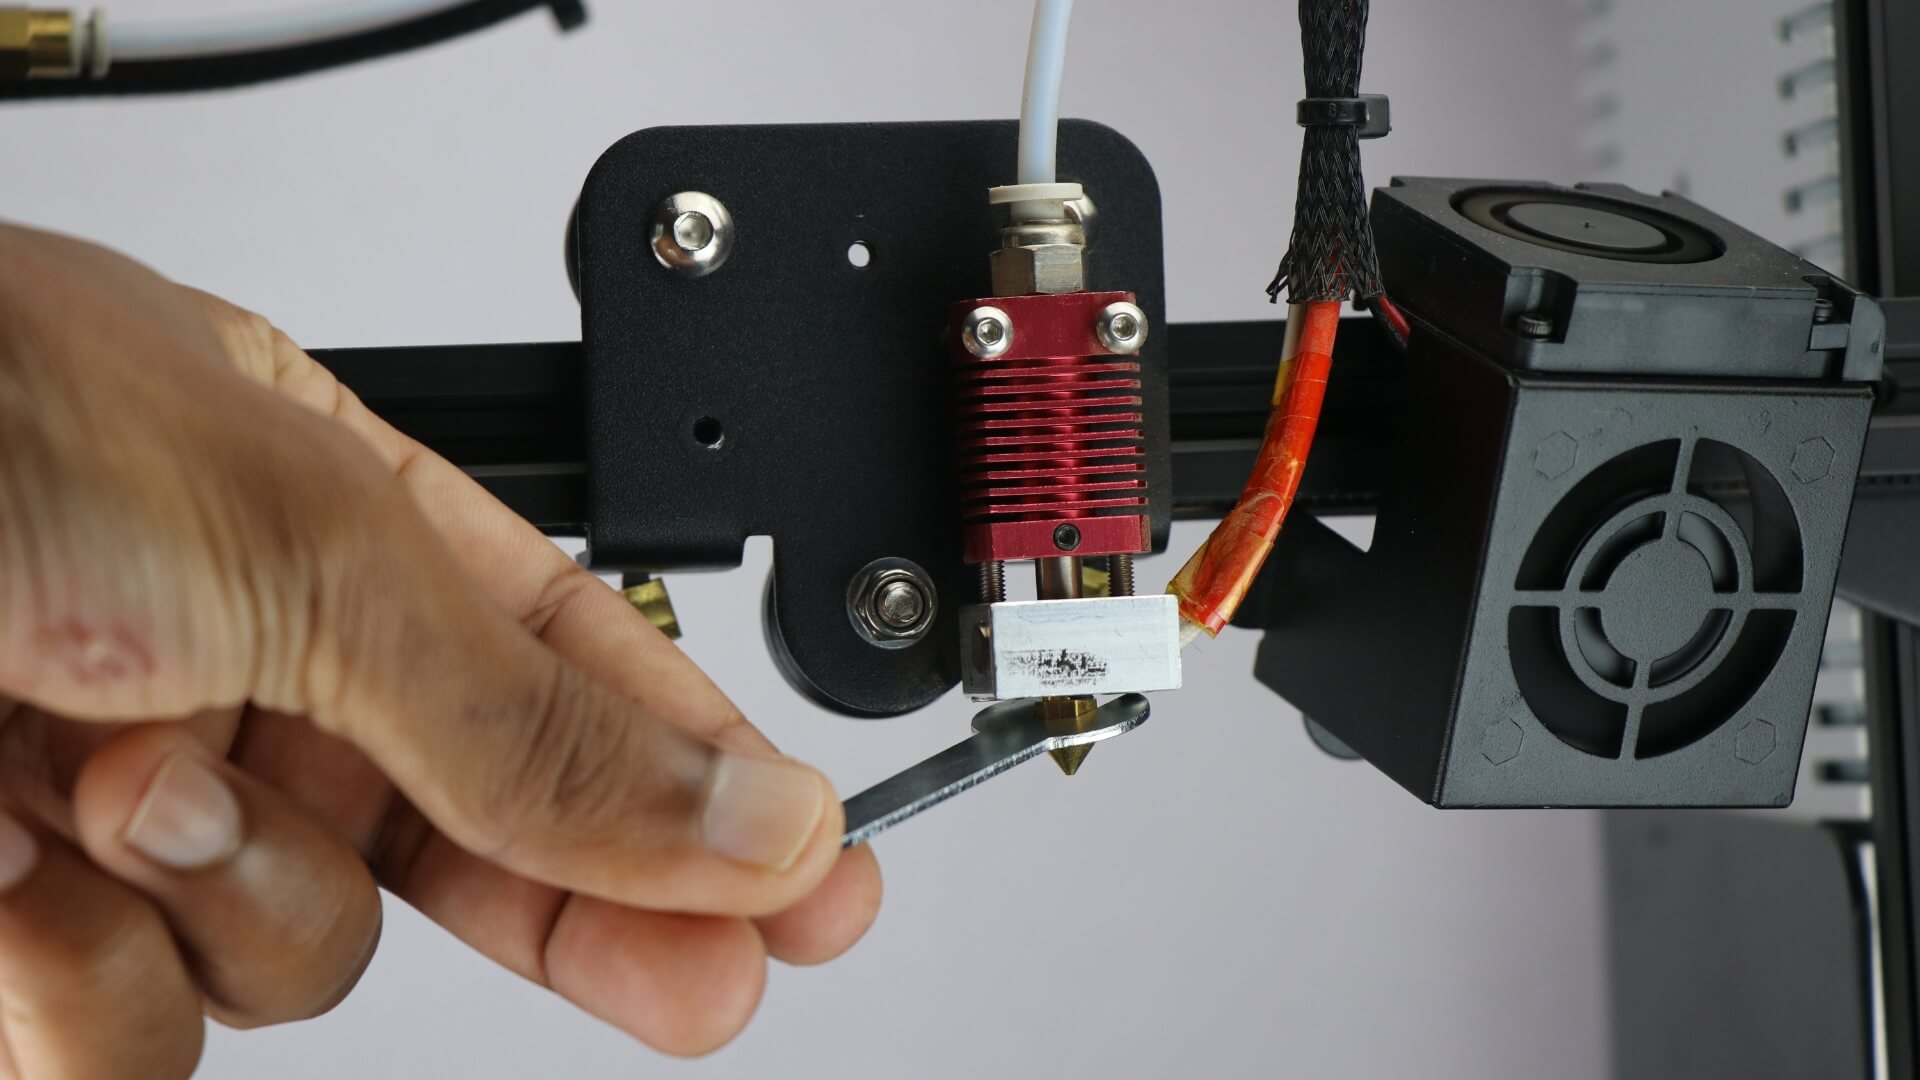
Check Nozzle and Hotend Temperature
Maintaining the correct nozzle and hotend temperature is crucial for successful 3D printing. Each filament type has an optimal temperature range, and deviations can result in under/over-extrusion and adhesion problems. Regularly calibrate and verify your printer's temperature readings using an accurate thermometer.
Optimize Print Settings
Fine-tuning your print settings is a critical aspect of 3D printing optimization. Parameters such as layer height, print speed, infill density, and cooling settings all affect print quality and efficiency. Adjust these settings based on the complexity and requirements of the print to achieve the desired results. Experimenting with different settings can lead to remarkable improvements in print quality.
Use Supports Wisely
For prints with overhangs or complex geometries, enabling support structures is essential. However, excessive supports can be challenging to remove and leave unsightly marks on the finished print. Use your slicer's support generation settings wisely, opting for "touching buildplate" or "everywhere" supports as needed. Minimize the use of supports while ensuring print quality and structural integrity.
Calibrate Extrusion Steps
Extrusion calibration ensures that your printer accurately extrudes the right amount of filament. This calibration process prevents under/over-extrusion issues, which can lead to weak, inconsistent, or irregular prints. Follow a reputable extrusion calibration guide or use calibration objects to fine-tune your printer's extrusion settings.
Reduce Printing Speed for Small Features
Intricate parts with small features benefit from reduced printing speeds. Slowing down the print speed helps achieve higher accuracy and reduces the risk of errors in detailed sections. Some slicer software allows for variable print speeds, allowing you to adjust speed settings for different parts of the print.
Avoid Drafts and Temperature Fluctuations
Ensure your FDM 3D printer operates in a stable environment free from drafts and temperature fluctuations. Temperature variations can cause warping and affect adhesion during the printing process. Additionally, drafts can interfere with the cooling process of the printed layers, resulting in inconsistent layer adhesion.
Check for Z-Wobble
Z-wobble refers to visible lines or inconsistencies in the vertical direction of a print. It occurs due to misalignment or uneven movement of the Z-axis. To address Z-wobble issues, check your printer for loose screws and belts and ensure smooth vertical movement. Additionally, upgrading to sturdier Z-axis components can improve print quality.
Inspect and Clean the Nozzle
Regularly inspect and clean the nozzle to prevent clogs caused by filament debris. Clogs can result in inconsistent extrusion and affect print quality. Use a nozzle cleaning kit or perform a cold pull (atomic pull) method to clear any blockages. Keeping the nozzle clean and clear of obstructions ensures smooth and reliable extrusion during printing.
Section 2: Troubleshooting Common Issues
Stringing
Stringing occurs when the nozzle leaks filament during travel moves between different parts of the print. To reduce stringing, adjust retraction settings in your slicer. Retraction pulls the filament back into the nozzle during travel moves, reducing the chances of oozing. Additionally, enabling the "combing" feature in the slicer keeps travel moves within printed areas, minimizing the risk of stringing.
Warping
Warping is a common issue where the printed part lifts from the build plate due to uneven cooling. To reduce warping, use a heated build plate for materials prone to warping, such as ABS and ASA. Proper bed adhesion is crucial, so ensure the build plate is clean and apply adhesive aids like glue stick or hairspray. Using a brim or a raft can also enhance bed adhesion and reduce warping.
Layer Shifting
Layer shifting occurs when printed layers are misaligned, resulting in skewed or misshapen prints. This issue is often caused by mechanical problems in the printer, such as loose belts or pulleys. Check all the mechanical components of your printer, including the belts, pulleys, and stepper motor connections. Tighten any loose components and ensure smooth and precise movement in the X, Y, and Z axes.
Elephant Foot
Elephant foot refers to the bulging or flaring of the first few layers of a print, causing the bottom of the model to be wider than intended. To reduce the elephant foot effect, adjust initial layer height and print speed. Slightly increasing the initial layer height or slowing down the print speed can mitigate this issue.
Under/Over-Extrusion
Under-extrusion and over-extrusion are common issues that result from incorrect filament flow. Calibrate the extruder steps to ensure the printer accurately extrudes the right amount of filament. Check for filament jams and ensure smooth filament flow throughout the printing process. Adjust temperature and print speed as needed to achieve optimal extrusion.
Delamination
Delamination occurs when printed layers separate, leading to weak and fragile prints. To improve layer adhesion, optimize print settings such as print temperature, print speed, and layer height. Ensuring adequate cooling for the material is also crucial in preventing overheating and delamination.
Poor Bed Adhesion
Poor bed adhesion can result in prints detaching from the build plate during printing. To improve bed adhesion, clean the build plate surface thoroughly, ensuring it is free from grease, dust, and debris. Use adhesive aids like glue stick or hairspray to enhance adhesion. Proper bed leveling is vital for ensuring the first layer adheres uniformly to the build plate.
Blobs and Zits
Blobs and zits are small imperfections that appear on the surface of a print due to excessive filament oozing during travel moves. To minimize blobs and zits, reduce the print temperature slightly, enable features like coasting and wipe in your slicer settings, and ensure that travel moves are optimized.
Conclusion
Mastering the art of 3D printing optimization and troubleshooting is a journey of continuous learning and experimentation. By following the tips and tricks in this comprehensive guide, you can elevate your 3D printing skills and achieve consistent, high-quality prints. Regularly fine-tuning your settings and addressing issues promptly will lead to smoother printing experiences and successful creations.
As you become more proficient in optimizing prints and resolving common issues, you will unlock the true potential of FDM 3D printing technology. Embrace the challenges and explore new possibilities in the ever-evolving world of 3D printing. Happy printing, and may your creations inspire innovation and creativity in the world of additive manufacturing!
